Is your asphalt driveway looking a little tired, but not quite ready for a full repave? You've probably heard of sealcoating, and maybe you've even done it yourself. But there's another option out there, a real step up in protection and how long it lasts: slurry coating. It's a thicker, tougher application that can genuinely extend your asphalt's life, especially with our notoriously wet Vancouver winters.
What Even Is Slurry Coating?
Alright, let's just get right to it. Slurry coating isn't just a fancy name for sealcoat, not at all. Think of sealcoat as a thin paint job for your driveway; it's good for UV protection and that fresh black look. Slurry coating, though, is more like a thin, flexible layer of actual asphalt. It's a mix of asphalt emulsion, fine aggregates (like sand), water, and some additives. This combination gives it more body and better filling capabilities than a standard sealcoat. It's specifically designed to fill small cracks, improve skid resistance, and provide a much more durable surface that can take a beating.
You'll often spot it on parking lots, roads, and even airport runways because it's just so tough. For homeowners, this means a significantly longer-lasting surface than just a regular sealcoat, and it can really breathe new life into an older driveway that's showing some minor surface issues.
Before You Start: Planning and Prep
This isn't really a weekend warrior project for everyone, I'll tell you that upfront. While some very handy folks might tackle a small, simple driveway, slurry coating is generally a lot more involved than a DIY sealcoat. So, here's what you need to consider:
- Assess Your Driveway: Slurry coating works great for driveways with minor surface cracks, raveling (that's when the aggregate starts coming loose), or just a faded, worn look. It won't fix big structural problems like deep potholes, alligator cracking, or major sub-base issues. If you've got those, you're looking at repairs or even a full repave first.
- Weather is King: Just like with sealcoating, you absolutely need dry, warm weather. We're talking daytime temperatures consistently above 50°F and no rain in the forecast for at least 24-48 hours after you apply it. That can be a real challenge here in the Pacific Northwest, so pick your window carefully, probably late summer or early fall.
- Cleaning is Crucial: You have to get your driveway spotless, no ifs, ands, or buts. Pressure wash it to remove all dirt, oil stains, moss, and any loose debris. Give it plenty of time to dry completely. Any contaminants will stop the slurry from bonding properly, and it'll just peel right off.
- Edge Work: You'll want to protect any adjacent concrete, pavers, or landscaping. Taping off edges with painter's tape or using cardboard can save you a whole lot of cleanup heartache later.
DIY vs. Professional: Where to Draw the Line
Okay, so can you actually do this yourself? For a very small, simple, flat driveway, maybe. But here's why I usually recommend calling in the pros for slurry coating:
- Mixing: Getting the right consistency for the slurry mix is absolutely critical. Too thin, it won't last; too thick, and it's practically impossible to apply evenly. This is not like mixing a can of paint, believe me.
- Application: Slurry needs to go on uniformly and quickly. It sets up faster than sealcoat. You're typically using a squeegee or specialized spray equipment. Getting an even, smooth finish without lap marks or puddles takes real skill and experience. It's also a lot thicker and heavier to work with than standard sealcoat.
- Equipment: You'll need commercial-grade squeegees, brushes, and possibly a mixer. For larger areas, specialized spray equipment is often used, which most homeowners just don't have access to.
- Cost of Mistakes: If you mess up a sealcoat, it's annoying but usually fixable. If you mess up a slurry coat, you've got a thick, uneven, potentially peeling mess that's much harder and way more expensive to correct.
Honestly, for most homeowners, especially if you have a larger or more complex driveway, hiring a professional like Horizon Asphalt Solutions is really the way to go. We've got the right equipment, the experience to mix it perfectly, and the crew to get it done right and efficiently. You'll end up with a much better, longer-lasting result, and you won't spend your weekend wrestling with sticky, heavy material. What's not to like?
During and After the Project
If you do decide to DIY a small area, or when a pro is doing the work, here's what to expect:
- Application: The slurry gets applied in one or two coats, depending on the product and how your driveway looks. It's spread evenly across the surface.
- Curing Time: This part is super important. You'll need to keep all traffic off the driveway for at least 24-48 hours, sometimes longer depending on humidity and temperature. Don't rush it! Driving on it too soon will leave tire marks and damage that fresh coating. You'll also want to avoid turning your wheels sharply on the new surface for the first week or so.
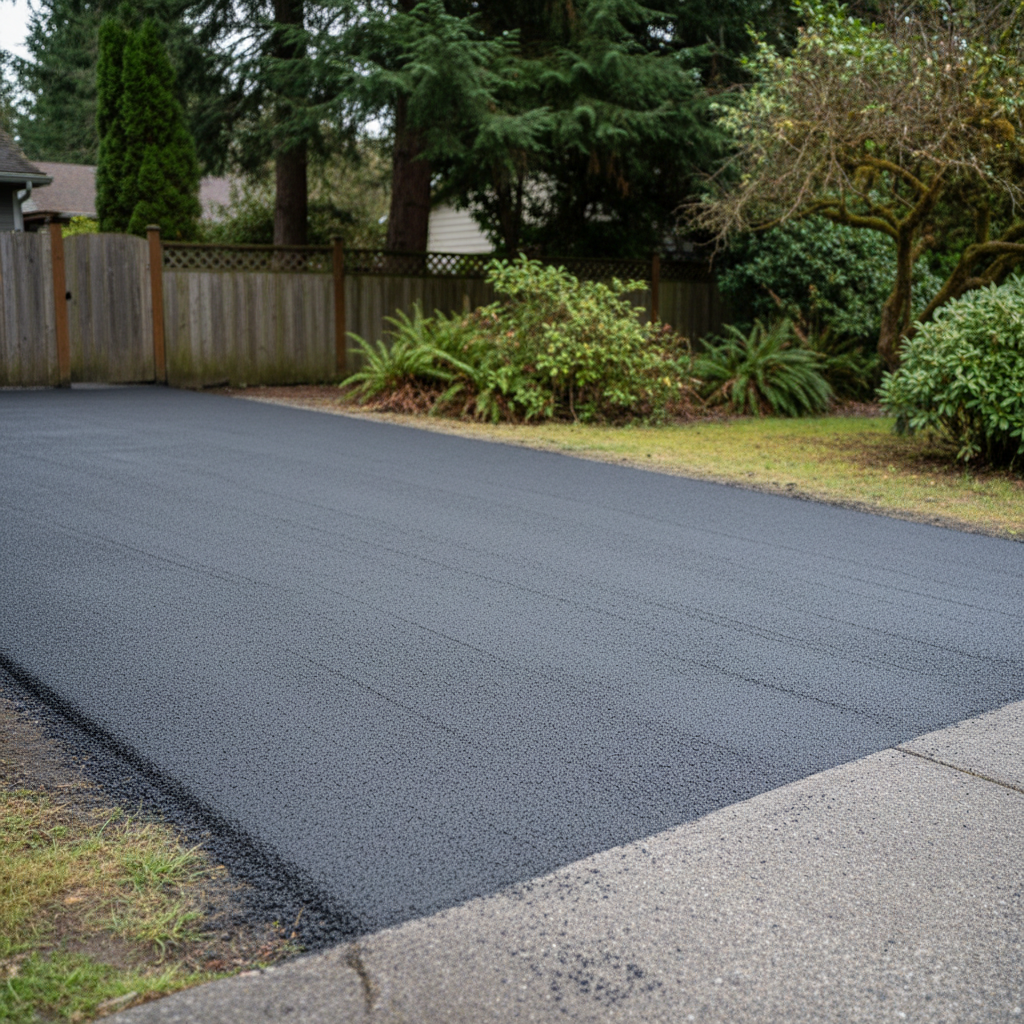
- Initial Look: It'll look a bit rougher than a smooth sealcoat at first because of those aggregates, but it will cure to a very durable, dark black finish.
Maintenance for a Long-Lasting Surface
Once your slurry coat is cured, it's pretty low maintenance. Just like any asphalt surface, really:
- Keep it Clean: Sweep off debris regularly.
- Address Spills: Clean up oil and gas spills quickly.
- Watch for Cracks: While slurry fills small cracks, new ones can form over time. Address any new cracks promptly with a good quality crack filler to prevent water from getting in.
Slurry coating is a fantastic way to give your asphalt driveway a serious boost in durability and appearance. It's more than just a facelift; it's a protective layer that can significantly extend the life of your asphalt. Just make sure you're realistic about the effort involved if you're thinking DIY, or better yet, give us a call at Horizon Asphalt Solutions and we can discuss if it's the right solution for your home.