So, you're thinking about slurry coating your driveway. Smart move, really. It's a great way to protect your asphalt, make it last longer, and give it that fresh, dark look again – all without the big expense of completely repaving. But, just like any home project, a little planning ahead goes a long way. You don't just wake up one morning and decide to coat your driveway, do you? There's definitely a process involved, and understanding it upfront will save you some headaches and help make sure everything turns out great.
Your Slurry Coating Project Timeline
Let's talk about how long this all takes. This isn't one of those quick, in-and-out jobs, like getting your car washed. From your first phone call to when the coating finally cures, you're probably looking at a few weeks, maybe even a month or two. It really depends on the time of year and how busy contractors are. Here’s a general breakdown:
- First Call & Estimate (1-2 weeks): You give us (or another contractor) a ring. We'll set up a time to come out, check your driveway, measure it up, and then give you a detailed quote. Sometimes, there's a bit of back-and-forth to get all the details just right.
- Getting on the Schedule (1-4 weeks): Once you say yes to the quote, we'll pencil you in. Spring and fall are super popular times here in Vancouver, WA. Why? Because the temperatures are usually perfect – not too hot, not too cold, and often drier than winter. That means contractors can get pretty booked up. So, don't expect us to show up tomorrow, okay?
- Prep Work (1-3 days before application): This step is absolutely critical. We'll clean the surface, fill any cracks, and deal with oil spots. We don't do this the same day as the coating; it needs time to set properly.
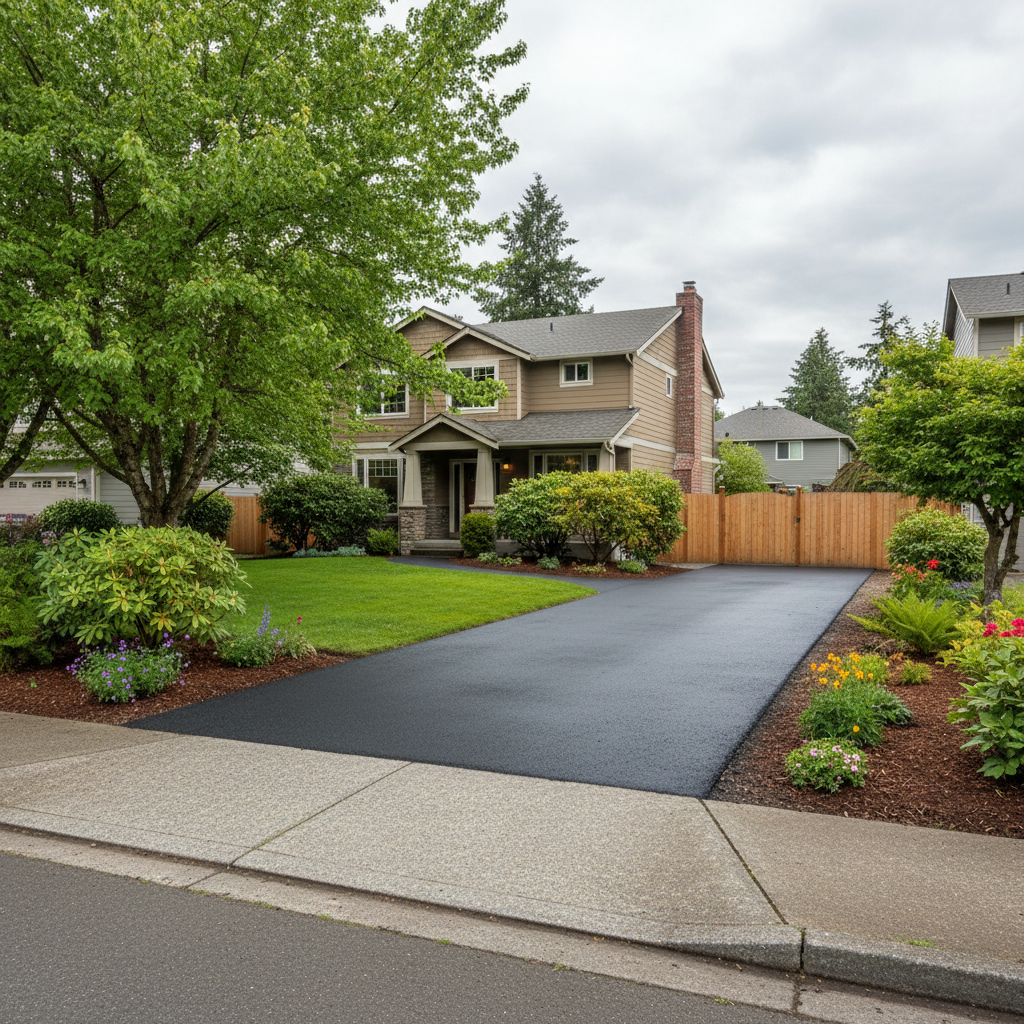
- Application Day (1 day): This is when the real action happens. The actual slurry coating goes down.
- Curing Time (24-72 hours): This is probably the most important part you need to plan for. You really, truly cannot drive or even walk on the fresh surface until it's fully cured. We'll tell you the exact timeframe, but usually, it's 24-48 hours for light foot traffic and 48-72 hours before you can drive on it. If you try to rush it, you'll just mess up the coating, and you'll end up with tire marks permanently etched into your brand-new surface.
What Happens During the Process
When our crew arrives, you'll see us doing a few key things. First, we'll give the surface a really good cleaning. That means blowing off debris, maybe even power washing if it's super dirty, and getting rid of any loose gravel or dirt. After that, we'll tackle any existing cracks. Slurry coating isn't meant to fill cracks itself, so we use a special crack sealant beforehand. We'll also treat any oil or gas stains because those can stop the slurry from sticking correctly.
On application day, we'll block off your driveway. This is just to make sure no one accidentally drives or walks onto the wet stuff. We'll then spread the slurry mixture evenly across the entire asphalt surface. It's liquid, but it's thick, and it dries to a nice, uniform dark finish. You'll probably notice a strong smell for a little while; that's totally normal. Our team at Horizon Asphalt Solutions always takes extra care to protect your landscaping and any nearby concrete. So, no black splatters all over your lawn or garage floor, we promise.
How You Can Get Your Property Ready
Your part in all this is pretty straightforward, but it's important. Here’s what you need to do:
- Clear the Driveway: This means cars, bikes, trash cans, basketball hoops – anything that usually sits on your driveway needs to be moved well in advance. We just can't work around your stuff.
- Trim Overhanging Branches: Got trees or bushes hanging low over your driveway? Trim them back. It gives us room to work and keeps leaves or other debris from falling onto the wet coating.
- Turn Off Sprinklers: Make sure your automatic sprinklers are off for at least 24 hours before we start and for 72 hours after the application. Water on a fresh slurry coat is a definite no-go.
- Plan for Access: Remember that curing time we talked about? You won't be able to use your driveway. Figure out where you'll park your vehicles for a few days. If you have guests coming over, let them know they'll need to park on the street.
- Keep Pets and Kids Away: Wet slurry isn't good for paws or little hands. Please keep everyone clear of the work area and the drying surface.
Questions to Ask Before You Sign That Contract
Before you commit, just make sure you feel good about your contractor. Don't be shy about asking questions. A good contractor will actually appreciate you being informed.
- What specific type of slurry product do you use? There are different kinds out there. It's good to know what they're putting down.
- How many coats will you apply? Usually, it's one, but sometimes a second is a good idea for areas that are really worn.
- What's your process for filling cracks and treating oil stains? Get the specifics. You want to be sure they're not just coating over existing problems.
- What's the estimated cure time, and what do you recommend for vehicle access? Get it in writing, or at least confirmed verbally.
- Do you guarantee your work, and for how long? A reputable contractor will stand behind what they do.
- Are you licensed and insured for this kind of work in Washington State? This isn't just a formality; it protects you if something goes wrong.
- What's the total cost, and what exactly does that include? Make absolutely sure there are no hidden fees.
Getting your driveway slurry coated is a smart investment. By understanding the process, getting your property ready, and asking the right questions, you'll ensure a smooth project and a great-looking, well-protected driveway for years to come. We're here to help whenever you're ready to get started.