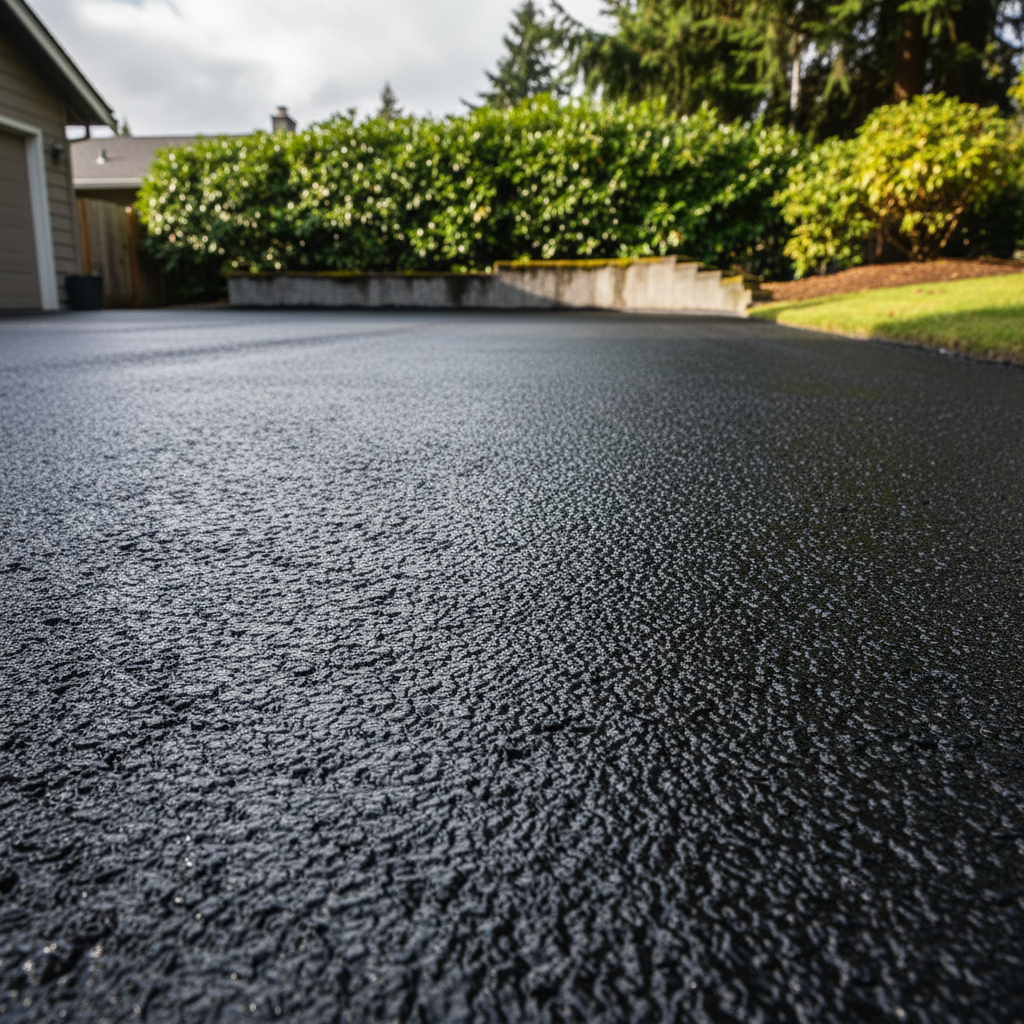
So, you're eyeing your asphalt driveway, thinking it could use a little sprucing up, maybe some extra protection. Slurry coating might be exactly what you're imagining. It's different from sealcoating, which mostly seals and protects. Slurry is a thicker, more substantial mix – picture it as a very thin layer of new asphalt that fills tiny cracks and gives you a fresh, tough surface. While it's often used on bigger areas like parking lots, homeowners with driveways that are showing their age but aren't completely falling apart can find it's a fantastic choice.
What Slurry Coating Actually Does for Your Driveway
Slurry coating is basically a blend of asphalt emulsion, aggregate (usually fine sand), water, and some additives. When you put it down, it creates a new, smooth wearing surface. This isn't just about making your driveway look nice; it genuinely makes it last longer. It fills in minor surface flaws, gives you that deep black color again, and shields the asphalt underneath from UV rays and water getting in. Here in Vancouver, with our wet winters and those hot summers we sometimes get, that protection is a really big deal. Water seeping into cracks and then freezing can seriously damage your asphalt, and slurry helps stop that from happening.
Before You Even Think About Mixing Anything
Alright, hold on a minute before you start buying buckets of slurry mix. You need to take a good look at your driveway first. Slurry coating isn't some magic fix for big problems. If you've got large potholes, deep cracks (I'm talking wider than, say, a quarter-inch), or significant areas of alligator cracking, you absolutely have to deal with those first. Slurry won't fix structural issues; it'll just hide them for a bit, and they'll probably pop right back up. You'll need to patch those spots properly. And make sure the surface is clean – I mean *really* clean. Power wash it, sweep it, get rid of every speck of dirt, oil stain, and loose debris. Any oil spots need a primer or complete removal, otherwise, the slurry simply won't stick. You also need to check the weather forecast. You want at least 24-48 hours with no rain, and temperatures consistently above 50 degrees Fahrenheit, even overnight. Trying to do this in October in Vancouver? You're just asking for trouble with our famously unpredictable rain, aren't you?
DIY vs. Calling Horizon Asphalt Solutions
Can you do slurry coating yourself? For smaller driveways, maybe. But it's definitely more involved than just rolling on sealcoat. The mix is thicker, and getting an even application takes some real practice. You'll need specialized squeegees and brushes. The biggest hurdle for a DIYer is getting a consistent thickness and a smooth finish without leaving noticeable marks or streaks. It dries pretty fast, too, so you don't have a ton of time to work with it. If you have a small, fairly flat driveway and you're handy, you might give it a shot. But for anything larger, or if you want a truly professional, long-lasting result, I'd strongly suggest calling in a pro like us at Horizon Asphalt Solutions. We've got the right equipment, the experience to lay down an even coat, and we know how to handle the little quirks of different asphalt conditions. Plus, we can quickly tell if your driveway needs more than just a slurry coat.
During the Application: What to Expect
If you hire us, we'll take care of all the prep work, including cleaning and filling minor cracks. Then, we'll apply the slurry. Usually, it's done in one or two coats, depending on the product and how your driveway looks. We use specialized squeegees and spreaders to make sure you get an even, consistent layer. It's a fairly quick process once we start, but the drying time is super important. You'll need to keep all traffic off the driveway for at least 24-48 hours, sometimes longer depending on how humid it is and the temperature. Don't rush it. Driving on it too soon will mess up the finish and make it less effective. We'll make sure to barricade it off and give you clear instructions on when it's safe to use again.
After the Project: Keeping It Pristine
Once your driveway is fully cured, it's going to look amazing – a deep, rich black that really boosts your home's curb appeal. To keep it that way, a little maintenance goes a long way. Clean up oil and gas spills right away; don't let them sit there and break down the asphalt. Try to avoid turning your car's steering wheel sharply while it's sitting still on the driveway, especially when it's hot out, as this can scuff the surface. Keep heavy vehicles off it if you can. And every few years, you might want to consider another sealcoat application to protect that slurry layer. The slurry itself should last several years, but regular maintenance will maximize its lifespan and keep your Vancouver home looking sharp. Remember, a well-maintained driveway isn't just about looks; it's an investment in your property.